Create Server
To create a new server in YottaSrc Cloud Console, please access your project. If you haven't created a project yet, please create one first.
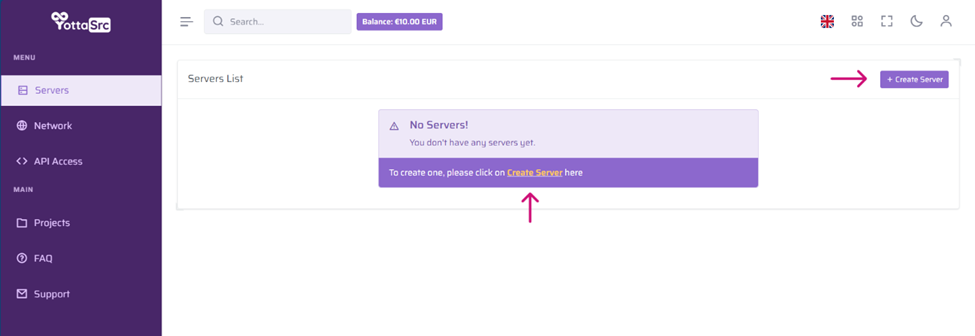
1. Click on Create Server:
2. Choose between Linux OS or Windows OS, as well as select between Shared Resources or Dedicated Resources.
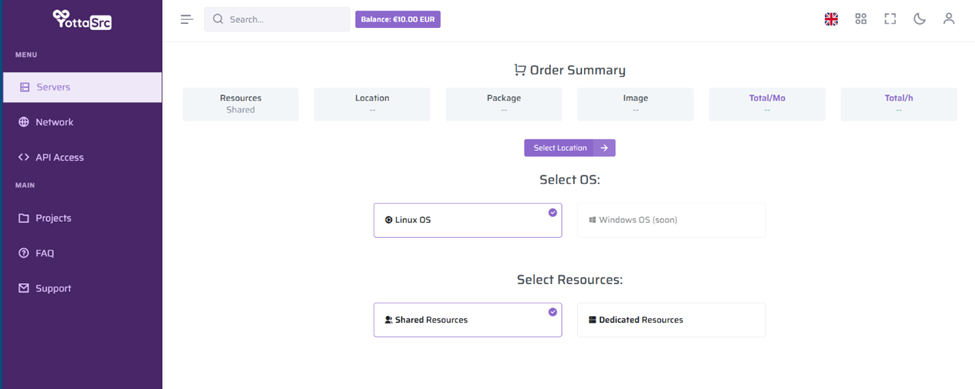
3. After selecting your preferred resources, click on 'Select Location':
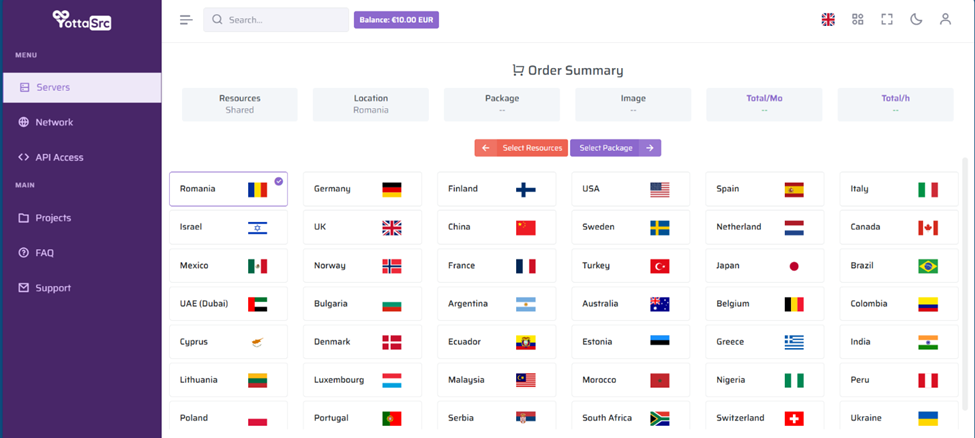
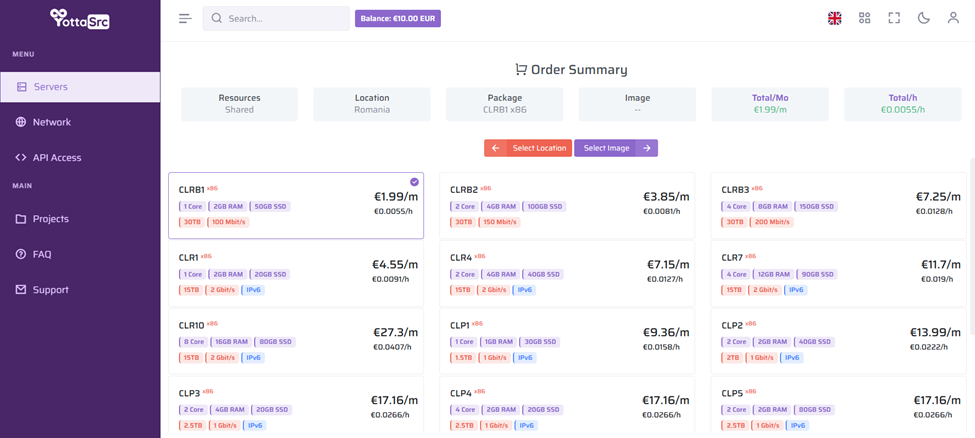
4. You can start customizing your server by selecting your preferred location, as each location offers different plans. For example, if you choose Romania, all available plans for servers located in Romania will be displayed, along with their resources and pricing options in both monthly and hourly rates.
5. The final step is to select the OS image, which will be your operating system. It is possible to change this after the server is created, but all previous data on the disk will be lost. This depends on whether the selected server provider supports the reinstallation option.
Note: The OS images will be updated as new updates become available for each operating system.
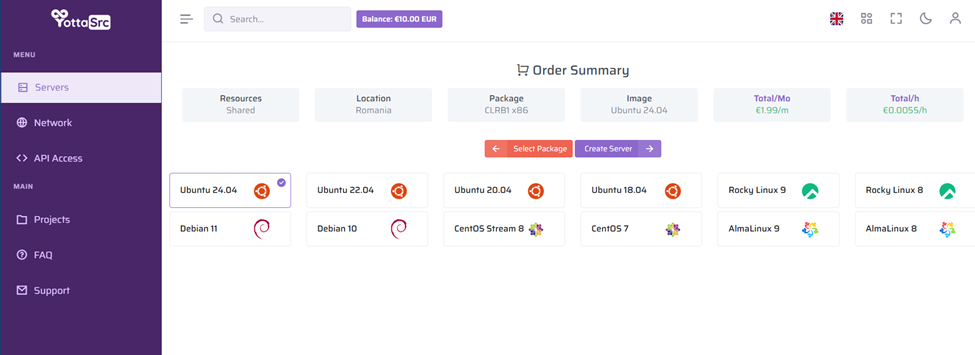
If you are satisfied with your selected settings, click 'Create Server' to proceed with creating the new server.
Note: All servers come with an IPv4 address, which is included in the purchase price of the server.