Create Additional IP
To create a new Additional IP in YottaSrc Cloud Console, navigate to your project, select the server where you want to add the new Additional IP, and proceed from there,
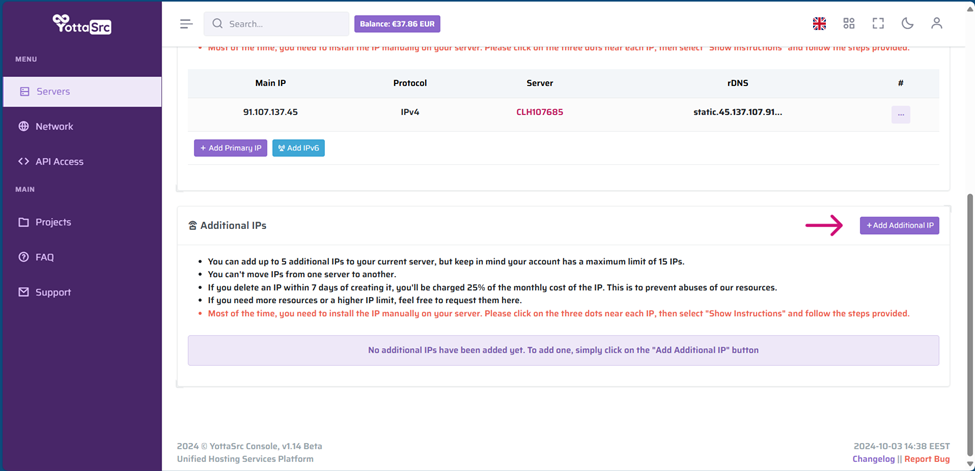
1. Click on Network tab on the server, scroll down a bit and click on Additional IP:
Please note, each provider has its own limit on the number of additional IPs that can be added to a server. This information will be visible in the Additional IPs instructions.
Depending on the provider you select, the additional IP may be assigned automatically, or in some cases, a reboot is required. However, most of the time, you will need to follow several steps to install the IP. You can click on 'Show Instructions' and follow the steps to activate the IP:
If you encounter any issues while setting up the additional IP, feel free to open a support ticket, and our technical team will assist you